8. SpeedFusion Connect
With Peplink products, your device is able to connect to SpeedFusion Connect without the use of a second endpoint. This service has wide access to a number of SpeedFusion endpoints hosted from around the world, providing your device with unbreakable connectivity wherever you are.*
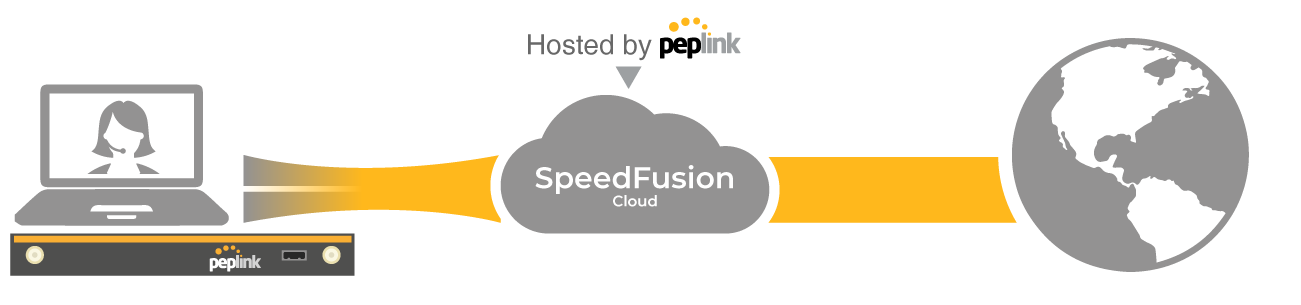
*SpeedFusion Connect is supported in firmware version 8.1.0 and above. SpeedFusion Connect is a subscription basis. SpeedFusion Connect license can be purchased at https://estore.peplink.com/ > SpeedFusion Service > SpeedFusion Connect.
8.1. Activate SpeedFusion Connect
All Care plans now come with SpeedFusion Connect included. This data allowance will automatically begin and end in accordance with your warranty. No activation is required.
8.2. Enable SpeedFusion Connect
Access the Web Admin of the device you want to create as the Peplink Relay Server, navigating to the “SFC Protect” tab.
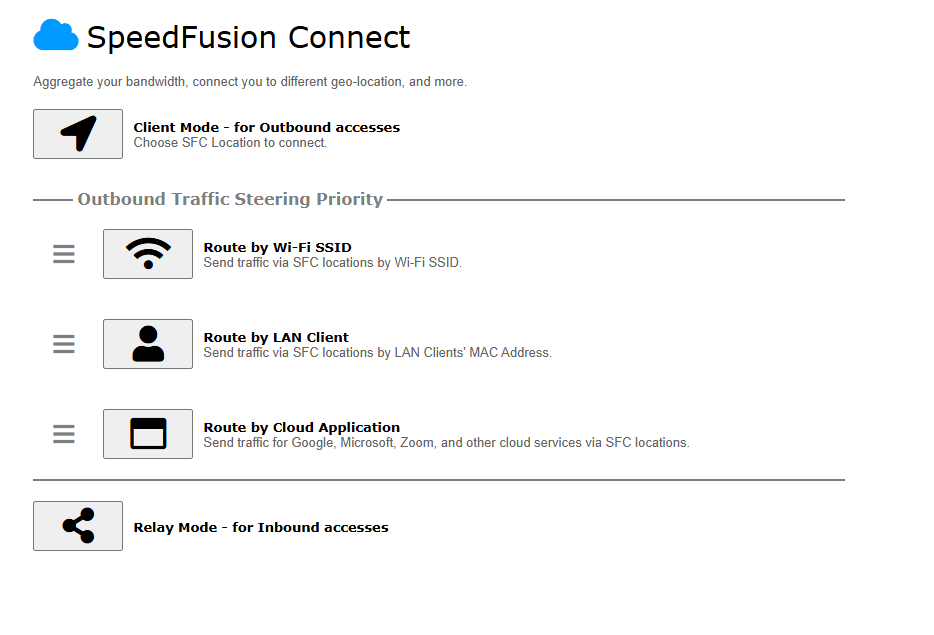
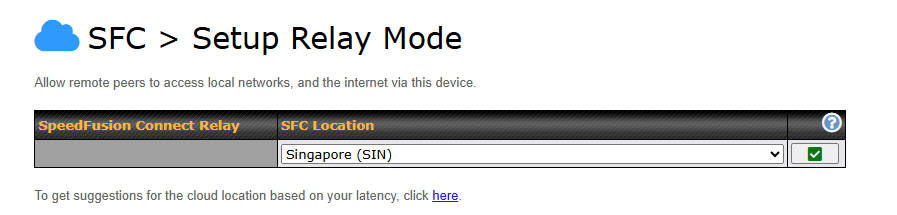
To set up a Peplink Relay Mode, select “Relay Mode – for Inbound accesses” > Choose the SFC Protect Location you wish to connect to > Click on the Green tick button to confirm the change.
User may also get the suggested cloud location based on latency by clicking “here”.
The Protect private networks option blocks traffic from Relay Clients to private IP address ranges, including:
- 10.0.0.0/8
- 100.64.0.0/10
- 172.16.0.0/12
- 192.168.0.0/16
- 169.254.0.0/16
Enabling this option prevents access to these private networks from Relay Clients to protect your private networks and devices. This can improve the security of your local network against unwanted traffic from Relay Clients.

To block other devices from connecting, select “Block all except the allowed list” and add allowed devices’ serial numbers and/or allowed app users under the list.
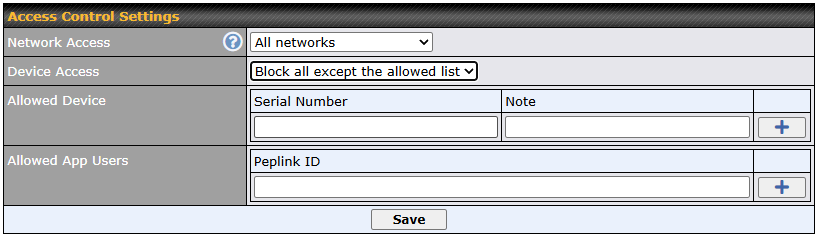
The Relay Sharing Code will be generated, and other peers can use this code to establish a SpeedFusion Connect that will forward the traffic to this device, allowing them to access local networks and the internet via your WAN connection.
By entering Peplink ID in Allowed App Users, the user will be able to connect directly to the device via Direct Connect using SF Connect App. For more information: https://forum.peplink.com/t/join-our-open-beta-direct-access-mode-in-the-sfc-app/61518

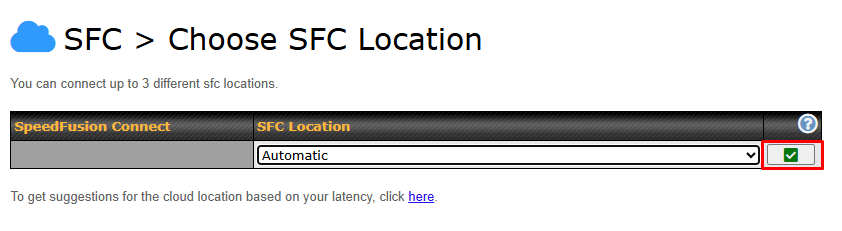
To connect to SpeedFusion Connect Protect, you can select an SFC Protect Location of your choice, or simply select Automatic then the device will establish connection to the nearest SFC Protect server.
Choose Automatic > Click on the green tick button to confirm the change.
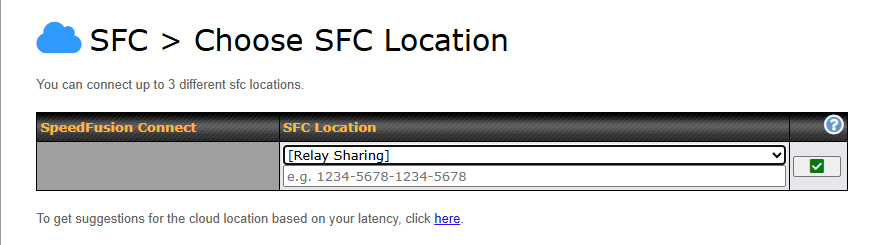
Or you may select Relay Sharing and use your Relay Sharing Code to create a profile if you have set up a Peplink Relay Client on another device.
Click on Apply Changes to save the change.
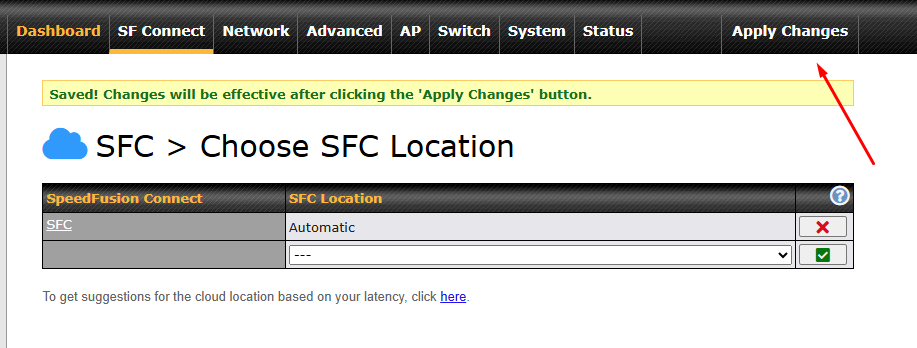
By default, the router will build a SpeedFusion tunnel to the SpeedFusion Connect Protect.

If you are running a latency sensitive service like video streaming or VOIP, a WAN Smoothing sub-tunnel can be created. Navigate to SFC Protect > Client Mode – for Outbound accesses > SFC.
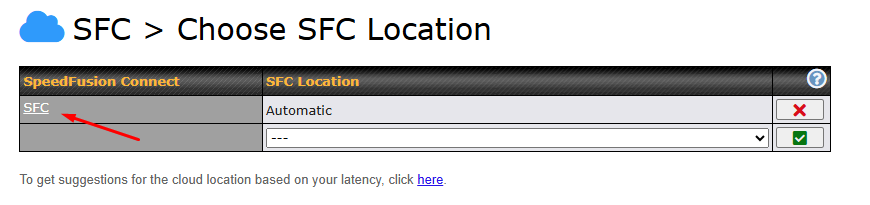
A SpeedFusion Connect Profile configuration window will pop out. Click on the + sign to create the WAN Smoothing sub-tunnel.
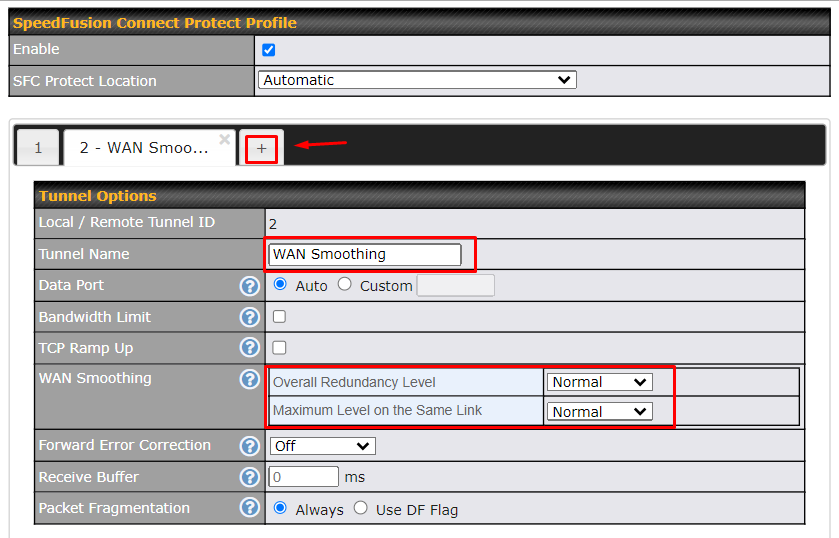
Click on Save and Apply Changes to save the configuration. Now, the router has 2 SpeedFusion tunnels to the SpeedFusion Connect.
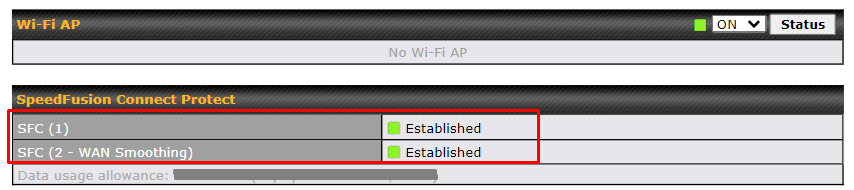
Data usage allowance can be checked from the below SpeedFusion Connect from Dashboard.
Status | |
Data usage allowance: [remaining data] (Expiry date: [date]) | Remaining SFC data usage occurs. |
Fair usage policy (Expiry date: [date]) | Device with active care plan but exceeded SFC data usage. This mode will reduce the throughput to 10 Mbps. |
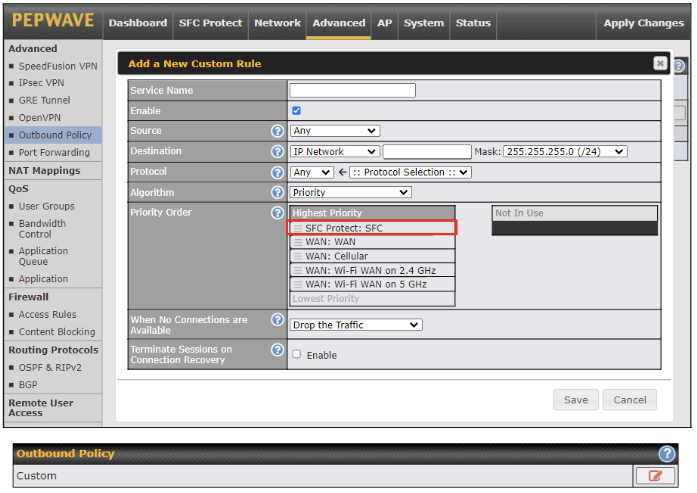
Create an outbound policy to steer the internet traffic to go into SFC Protect. Please go to Advanced > Outbound Policy, click on Add Rule to create a new outbound policy.
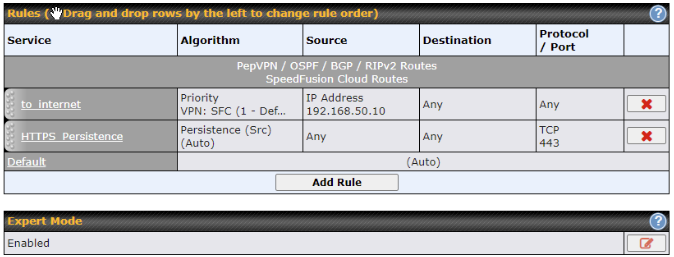
8.3. Route by Cloud Application
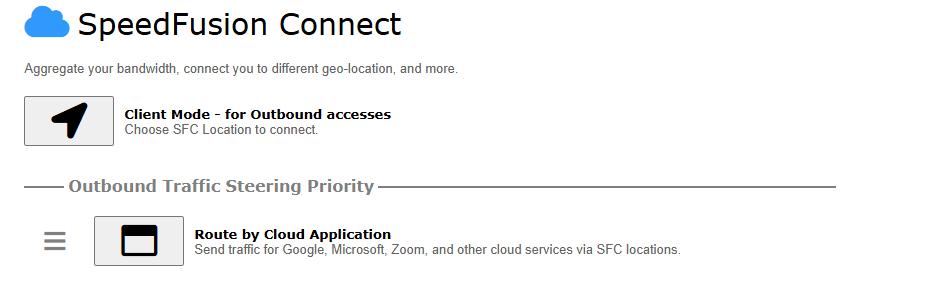
Optimize Cloud Application allows you to route Internet traffic through SpeedFusion Connect Protect based on the application. Go to SFC Protect > Route by Cloud Application.
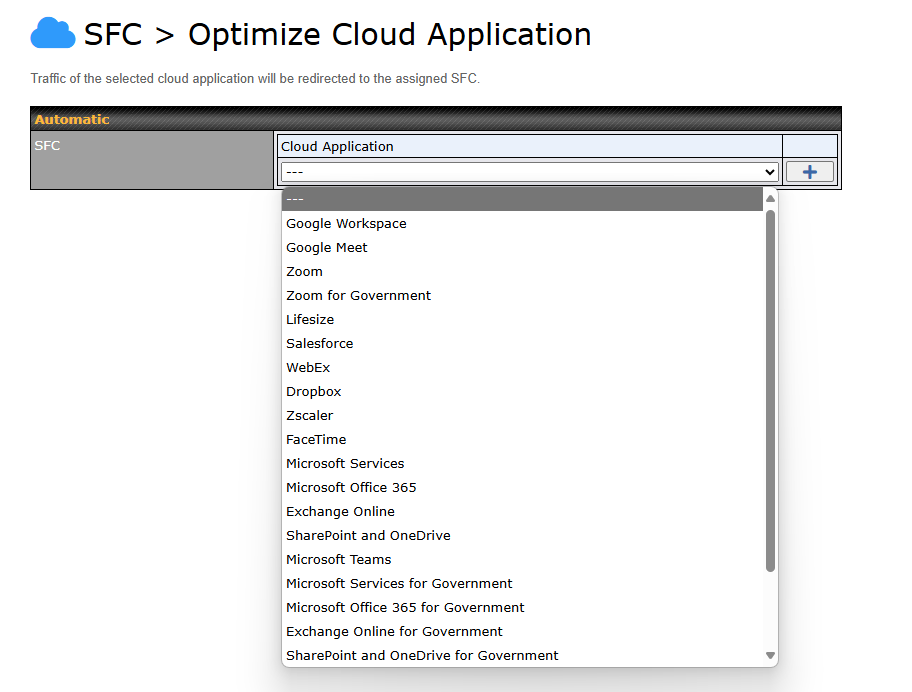
Select a Cloud application to route through SpeedFusion Connect Protect from the drop down list > Click  > Save > Apply Changes.
Click the  to remove a selected Cloud application from routing through SpeedFusion Connect Protect.
8.4. Route by Wi-Fi SSID
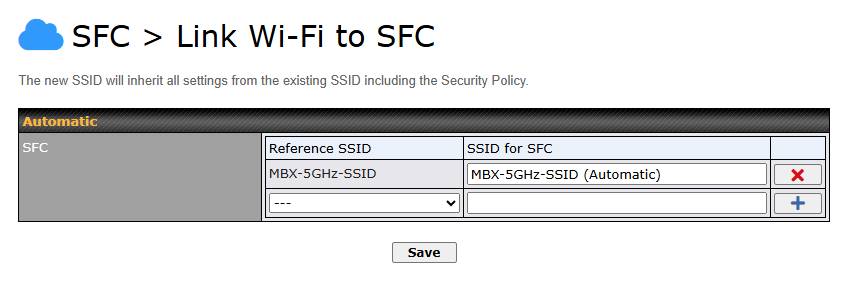
SpeedFusion Connect Protect provides a convenient way to route the Wi-Fi client to the cloud from SFC Protect > Route by Wi-Fi SSID.
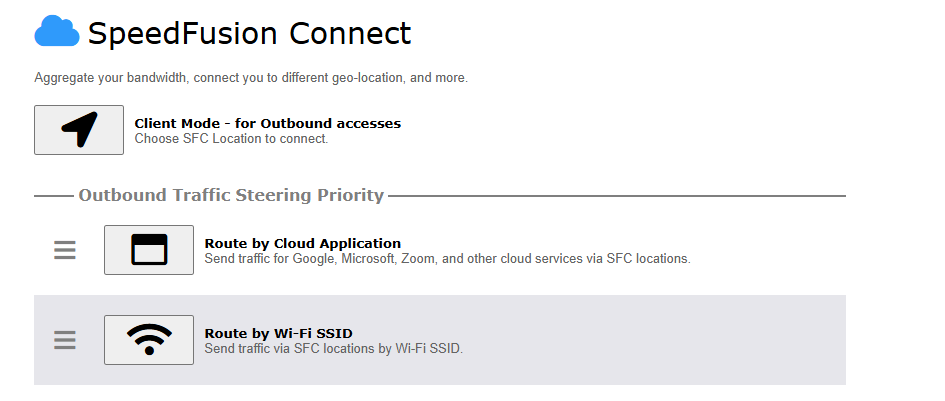
Create a new SSID for SFC Protect. The new SSID will inherit all settings from one of the existing SSIDs including the Security Policy. Then click Save followed by Apply Changes.
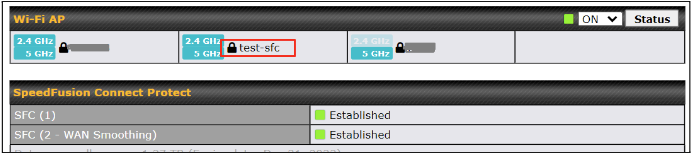
SFC Protect SSID will be shown on Dashboard.
8.5. Route by LAN Client
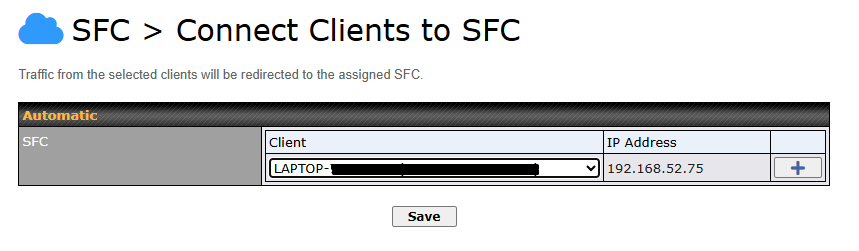
SpeedFusion Connect Protect provides a convenient way to route the LAN client to the cloud from SFC Protect > Route by LAN Client.
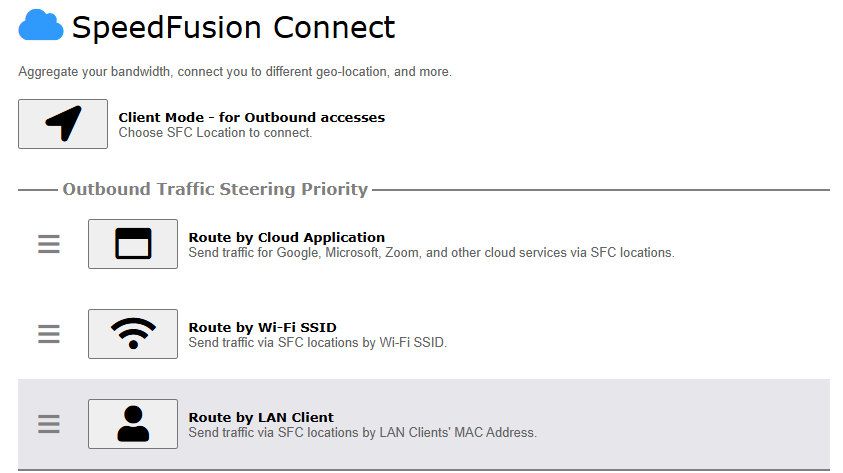
Choose a client from the drop down list > Click + > Save > Apply Changes.