5. Installation
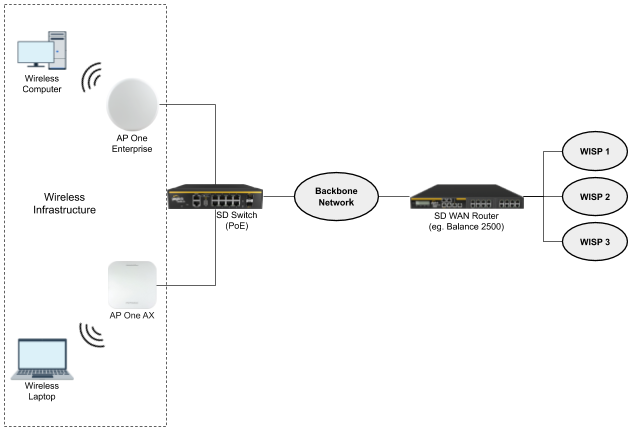
Your access point acts as a bridge between wireless and wired Ethernet interfaces.
A typical setup follows:
5.1. Installation Procedures
- 1.Connect the Ethernet port on the unit to the backbone network using an Ethernet cable. The port should auto sense whether the cable is straight-through or crossover.
- 2.There are two methods to power on the device as below:
- 2.1For those Peplink AP devices having built-in PoE ports only, use an Ethernet cable to connect to the Power over Ethernet (PoE) switch or PoE injector.
- 2.2For those Peplink AP devices that have a DC power source, plug the AC adapter to the DC connector of the unit.
- 3.Wait for the status LED to turn green.
- 4.Connect a PC to the backbone network. Configure the IP address of the PC to be any IP address between 192.168.0.4 and 192.168.0.254, with a subnet mask of 255.255.255.0.
- 5.Using your favourite browser, connect to https://192.168.0.3.
- 6.Enter the default admin login ID and password, admin and public respectively.
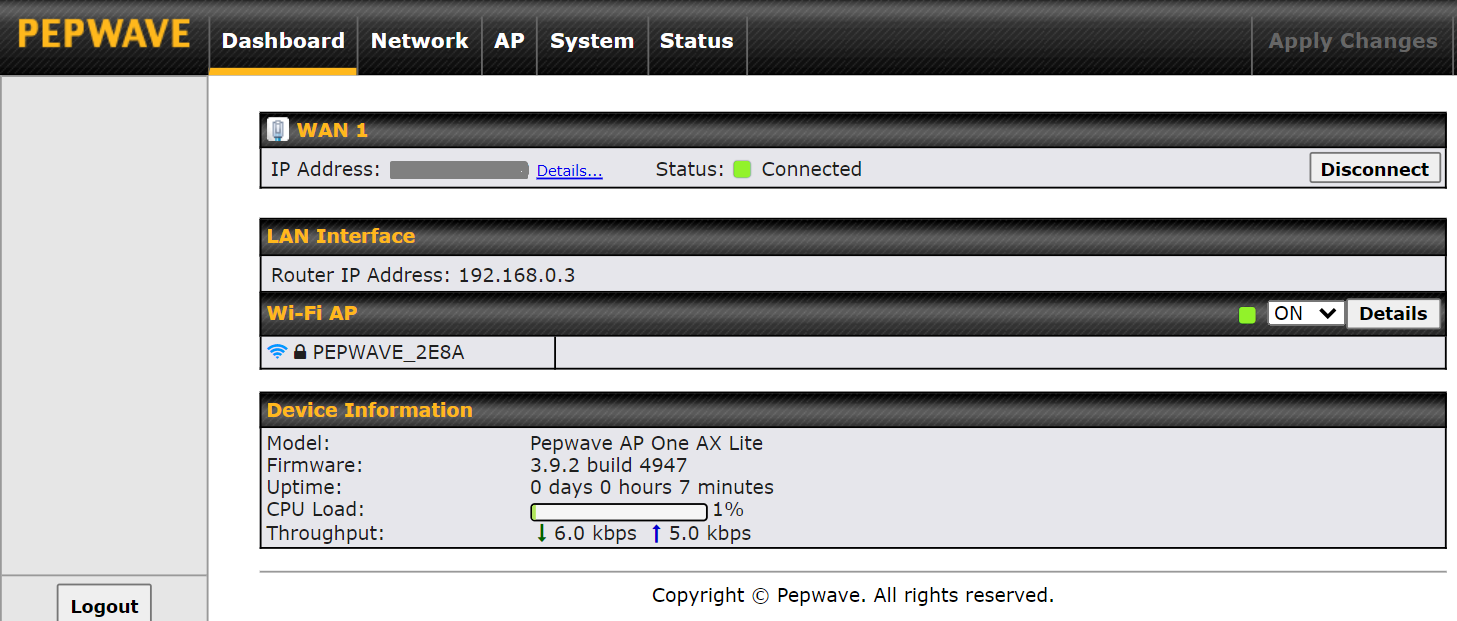
- 7.After logging in, the Dashboard appears. Click the System tab to begin setting up your access point.