
4. Quick Start Guide
Managed by InControl 2:
1. Power on the switch and connect it to the internet.
Unbox your Peplink switch and power on the device. Once plugged in, the Power and Status lights will turn on.
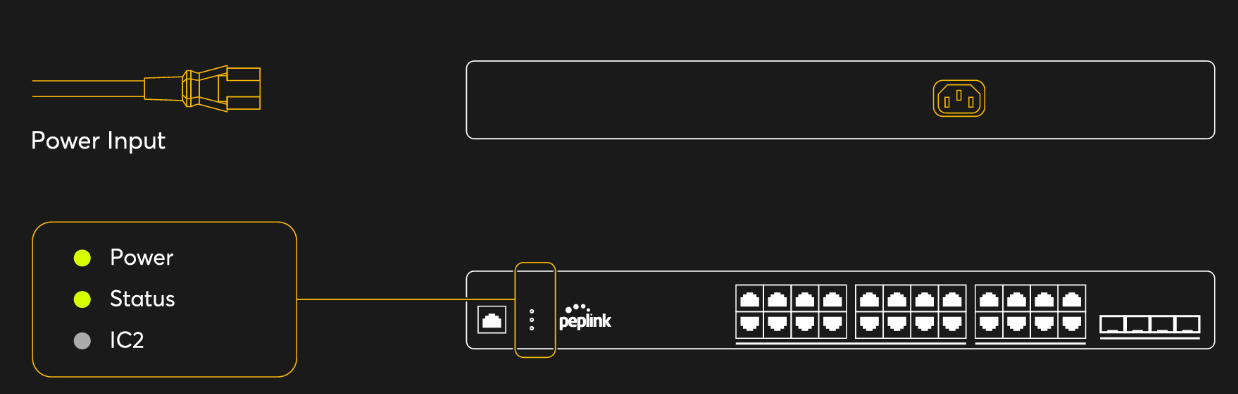
2. Connect your switch to your local network by plugging a LAN cable into one of the available GE or SFP LAN ports.

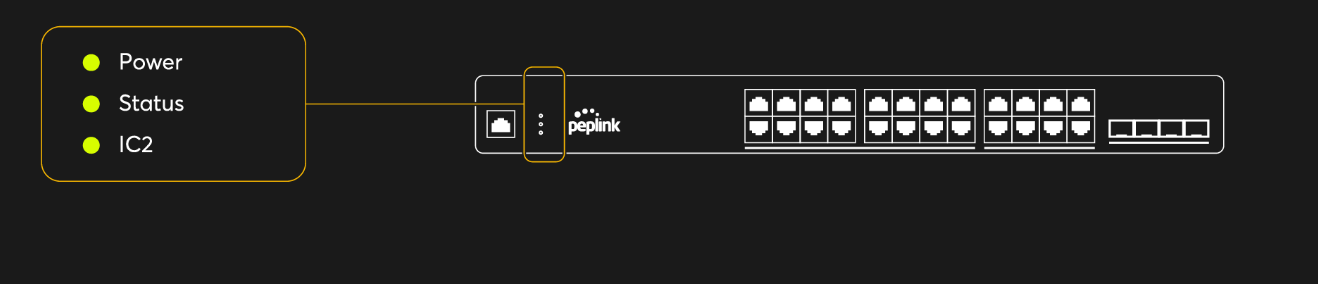
3. The IC2 light will turn green when the device is ready to be configured on InControl 2.
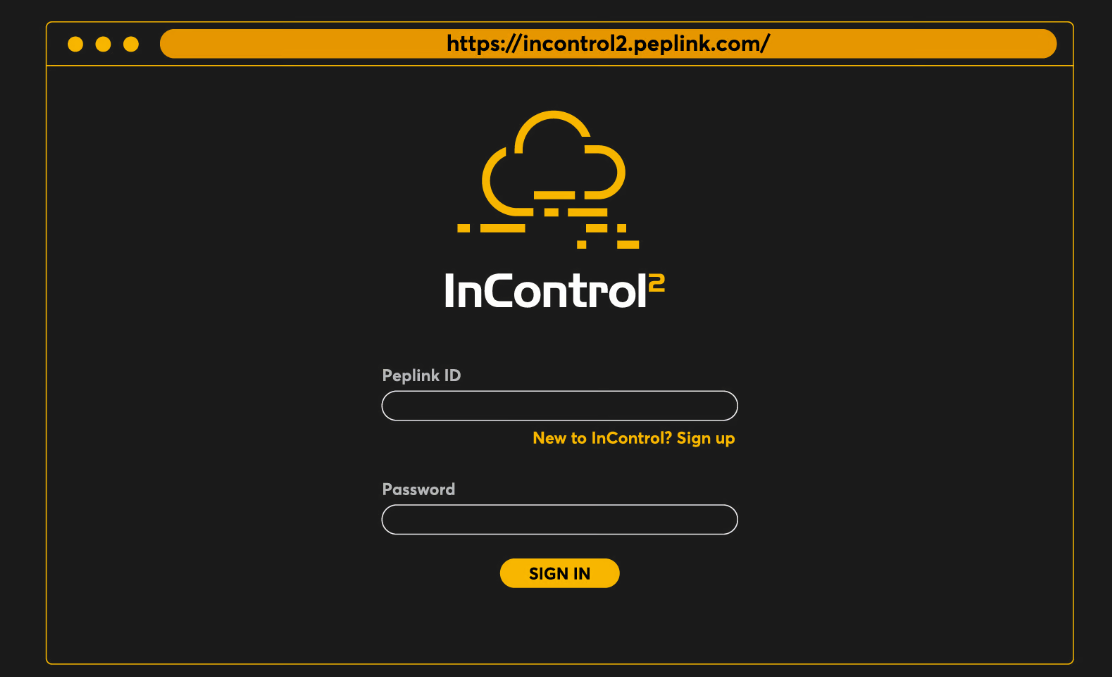
4. Register the switch on InControl 2. Navigate to InControl 2 and log in to your account. If you don’t have one yet, please create an account now.
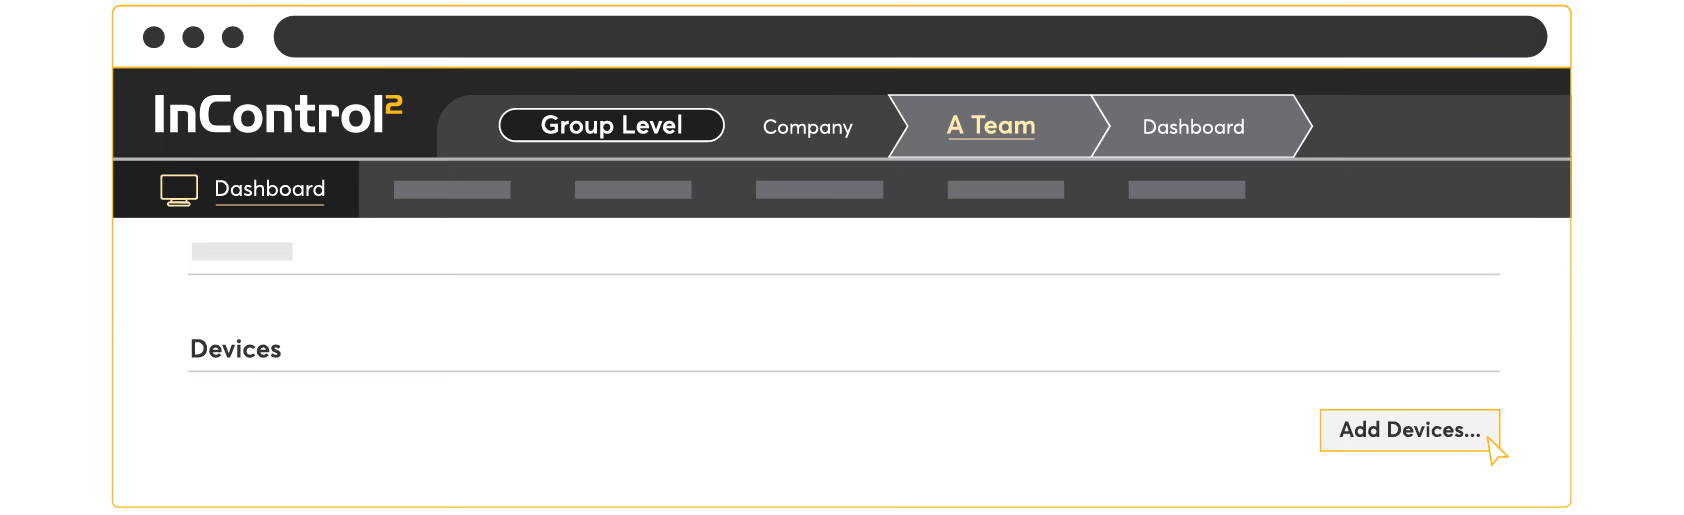
5. Navigate to the organization where you would like to assign the switch. For new accounts, please create a new organization and group.
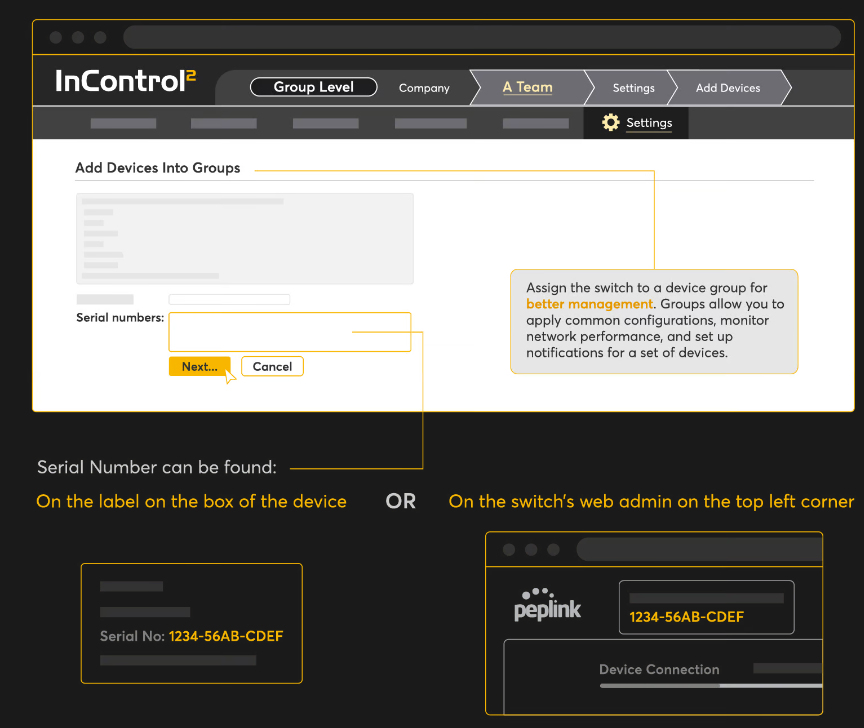
6. Under the Group Level, click Add Device.
7. Enter the Serial Number of your Peplink switch.
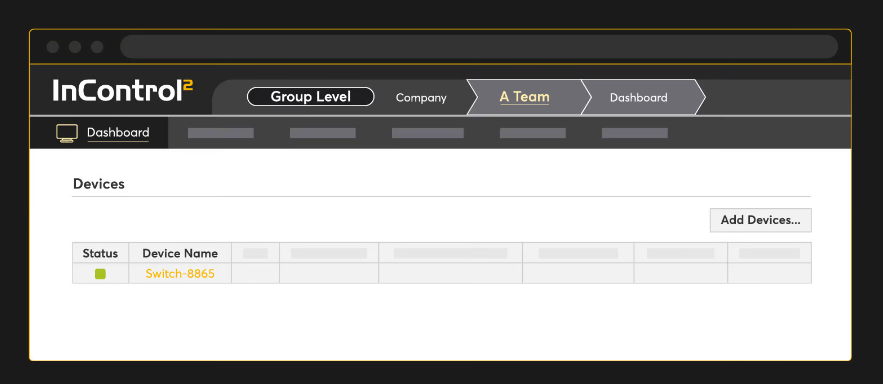
8. Once the device is added, it should appear under your Group Level’s device list in InControl 2. A warning message icon will appear beside the Device Name, which advises the user to change the admin password.
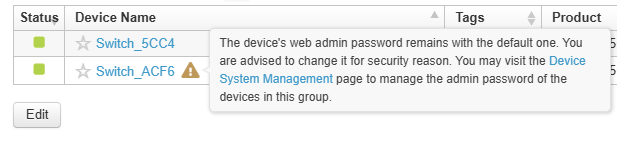
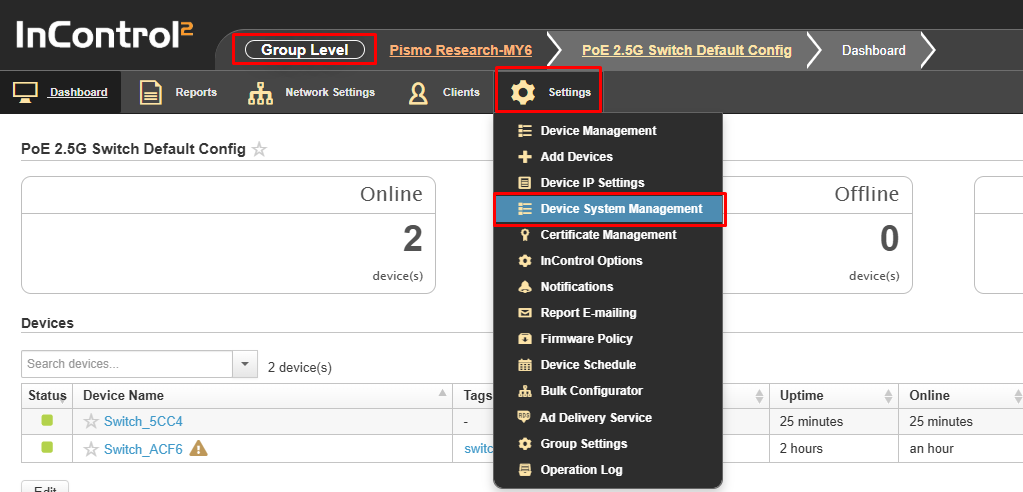
9. To manage the device password, the user may enable the option “Device Web Admin and CLI Management” from InControl Group Level > Settings > Device System Management.
For more information about “Device Web Admin and CLI Management,” kindly refer to the “Securing InControl Access” section in the link below:
https://forum.peplink.com/t/quick-and-easy-ways-to-secure-your-router/8062
You’re all set and ready to configure!