SDX Pro Module Upgrade#

SDX Pro Module Upgrade
April 2026
Procedures#
Step 1: Power off the router. The router MUST be disconnected from power before starting the upgrade.

Step 2: For cellular versions, disconnect all antennas including the GPS antennas.
Step 3: There are two screws on the front of the FlexModule; both need to be loosened. The screws are spring loaded and will be held in place so as to not fall out. The screws remain with the FlexModule.
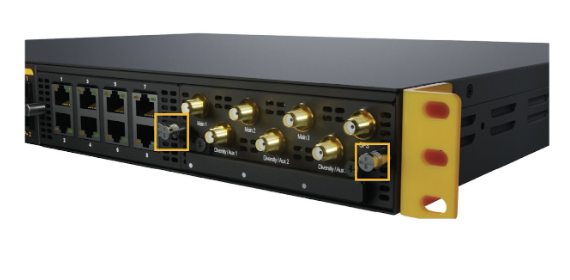
Step 4: Remove the module by pulling it out directly. It should slide out with minimal force.
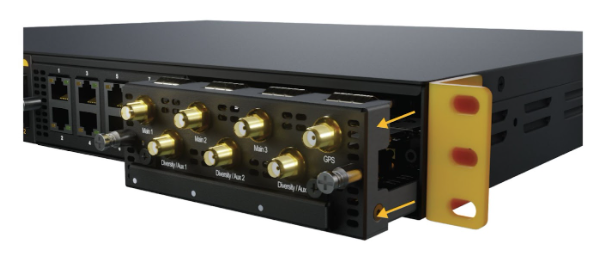
Step 5: Install the new module. Make sure it is correctly aligned and press the module firmly into place. The FlexModule should sit flush with surrounding FlexModules or slightly countersunk (1-2mm) of the router chassis.
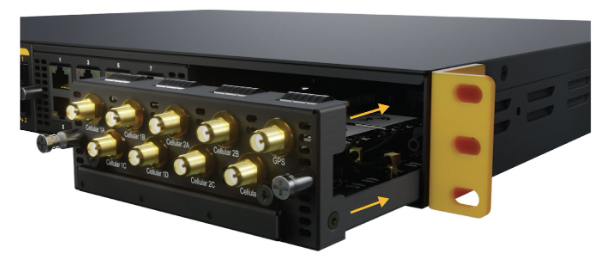
Step 6: Tighten the screws until flush and tight with collar.

Step 7: Reconnect the antennas.
Step 8: Reconnect the power.